Raspberry pi cluster, Traefik, Docker Swarm, GlusterFS and AZ - Part 1

I will skip the part where you flash the Raspbian image to the SD-card. Since there are a lot of guides that go through that in detail already. Look here for information regarding flash the SDs and chose the right guide based on your OS.
The only part I want to add here is that you should put an empty file called ssh to enable ssh on the pi, they have disabled it by default to increase security. The same thing goes for WiFi. A file with the details of your network can be added as a file to enable WiFi and connect automatically. A good example. After hooking up all the Raspberry pis to the rack, plug them all into power and network they will boot up and ready for access.
It looks something like this:
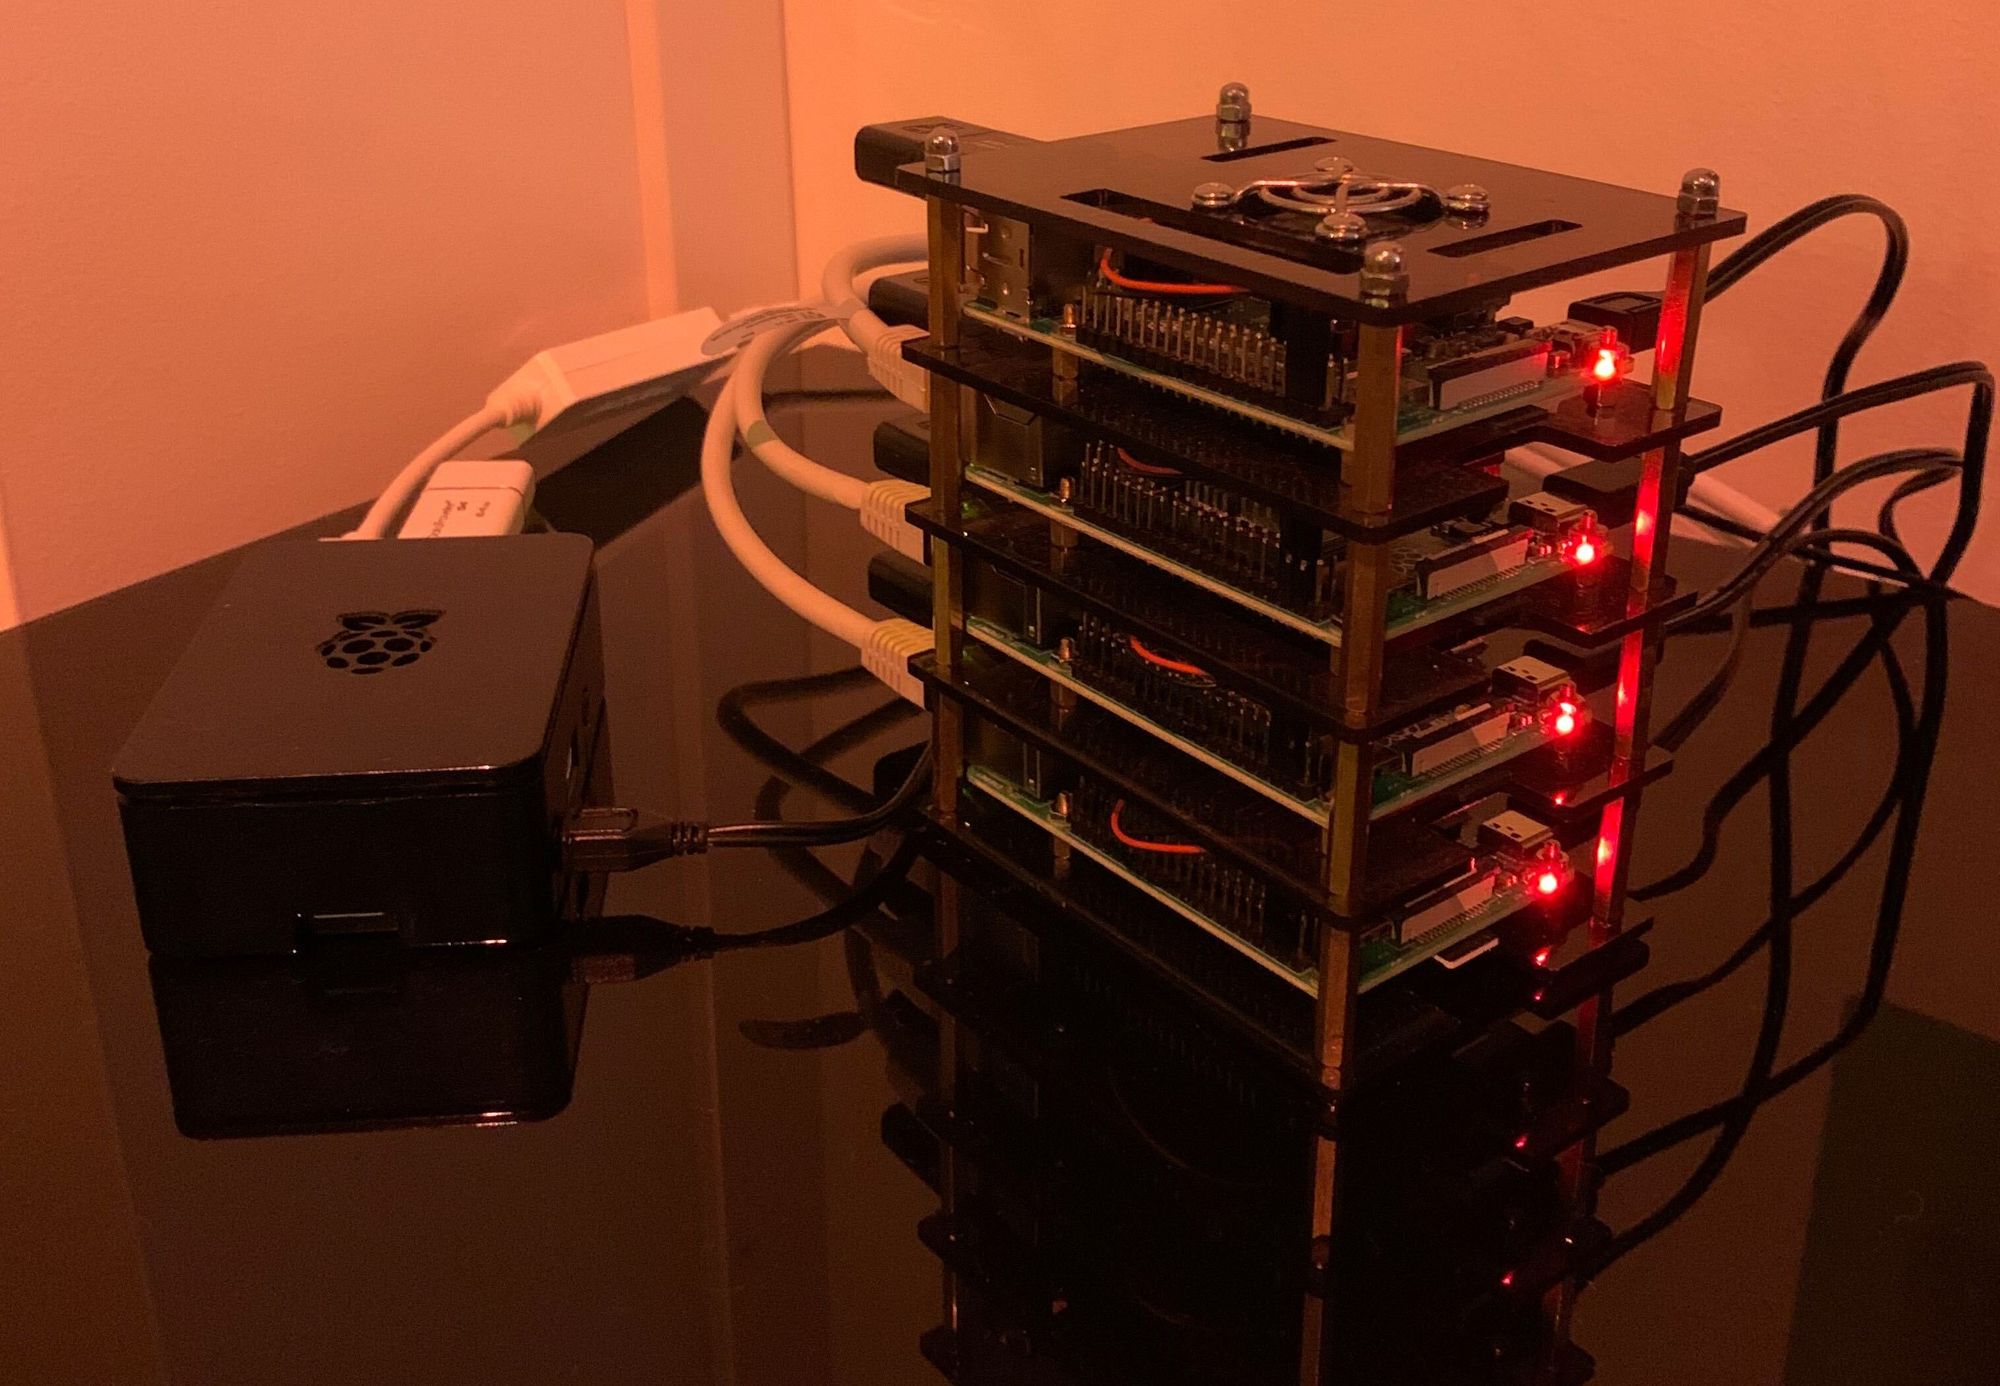
I did not get both racks at the same time, so I have one pi in an original case next to the rack. First, we want to set a static IP address for all Pis with a hostname in Edge OS. Secondly, we want to hook up SSH keys since I hate using passwords.
A tip would be not to start all pi´s at the same time since they all got the same hostname "raspberrypi" before we change it and it can collide with each other. Look at your router what IP address your first pi have been assigned. In my case, my pis start at the range of 192.168.1.40 and up. For each pi repeat the same steps.
1. ssh [email protected]
2. Enter "raspberry" to login
3. I do not want to use the pi user, i rather create my own one. but its optional.
4. Create new user with:
sudo adduser jonathan
sudo adduser jonathan sudo
5. Add the user to sudoers depending on if you want to type password or not, look here and make a decision https://www.raspberrypi.org/documentation/linux/usage/users.md
6. test sudo su - jonathan to see that it works
7. Remove the default pi user
sudo deluser pi8. Exit the session and copy the SSH key to the pi:
cat ~/.ssh/id_rsa.pub | ssh [email protected] 'cat >> .ssh/authorized_keys && echo "Key copied"'if you do not yet have an ssh key, you can easily generate one by following this example https://help.github.com/en/github/authenticating-to-github/generating-a-new-ssh-key-and-adding-it-to-the-ssh-agent
When the ssh key is working, you would not need to type in a password. Then we can start updating the pi by running:
sudo apt update && sudo apt full-upgrade -y && sudo apt install rpi-eeprom -y && sudo rpi-updateThen we want to change the hostname and hosts file to rename the pi:
sudo nano /etc/hostnameand rename the pi to a good hostname. Since i got multiple versions of the pi i prefix them like rpi4-node1 etc
Then we need to update the hosts file too, use the same hostname here and replace raspberrypi by typing:
sudo nano /etc/hostsFinish each pi by doing:
sudo rebootto make sure that we get our new static IP address and the new hostname.